Sunday, September 9, 2007

WaterFire 2007 in Kansas City

My blog does not reflect it, but this has been a busy week or so for me from a photographic standpoint. So busy in fact, I could probably have made 3 blog entries, but I chose to shoot instead. =)

I spent a couple of hours in the studio doing some more microstock work. I submitted 11 new photographs, and Fotolia accepted 7 of them, which brings my count up to 13 active photographs with them. I would like to be up to 50 by the end of the year. I have not heard back from BigStockPhoto or Dreamstime yet.

I also spent last weekend shooting photographs for a project on http://www.morguefile.com/ called The 11th Hour. For three days, photographers from around the world shot photographs of whatever they were doing at 11am and 11pm Greenwich Mean Time. For me that was 6, and since I was sleeping at 6am each day I only took photographs during the 6pm hours. This was a fun project to be involved in and it forced me to look at my everyday surroundings with a new eye so I could try to get some interesting photographs.

I also spent some time on Sunday with my daughters as models trying to get some "back to school" and other concept shots. They were thrilled with being models until they found out they could not wear whatever they wanted or pose however they wanted. I had a very specific set of shots in mind and I think that sucked the fun right out of it for them. Combine that with 90+ degrees in the sun, reflectors that were shining in their eyes, and a photographer who has never worked with models before and you will not be surprised no useable photographs came out of the shoot. Still, I learned a few things, so it was not a total loss.

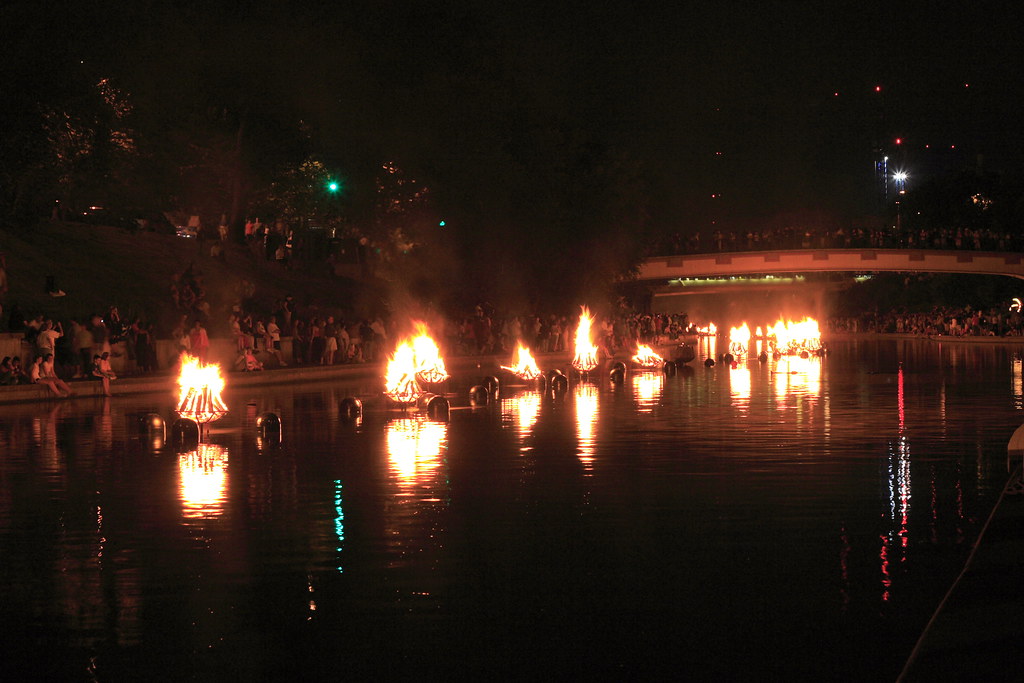
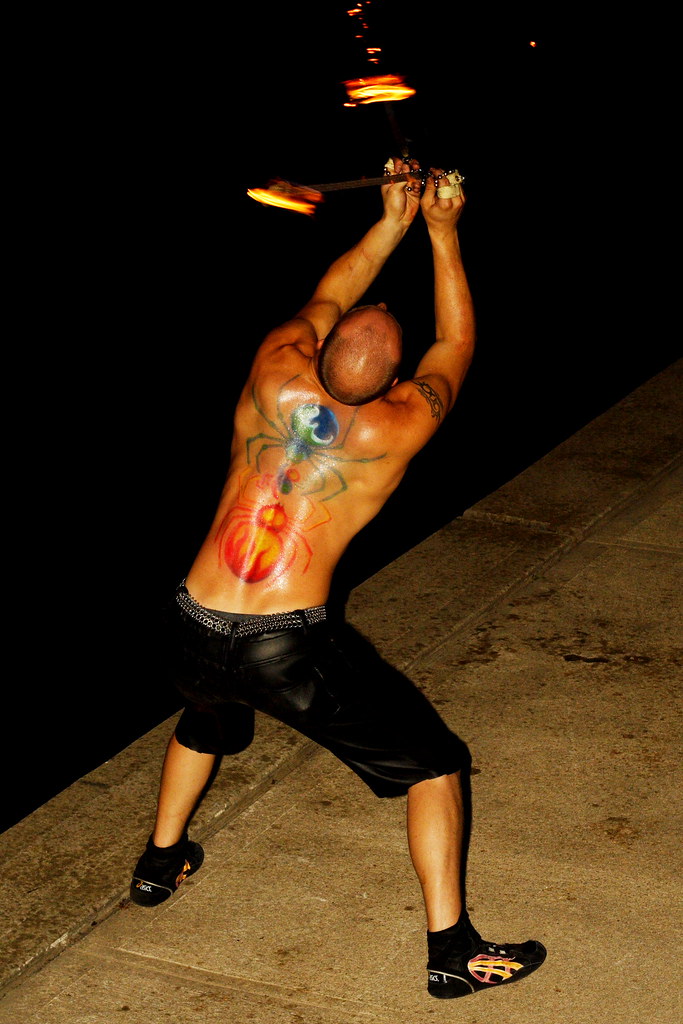
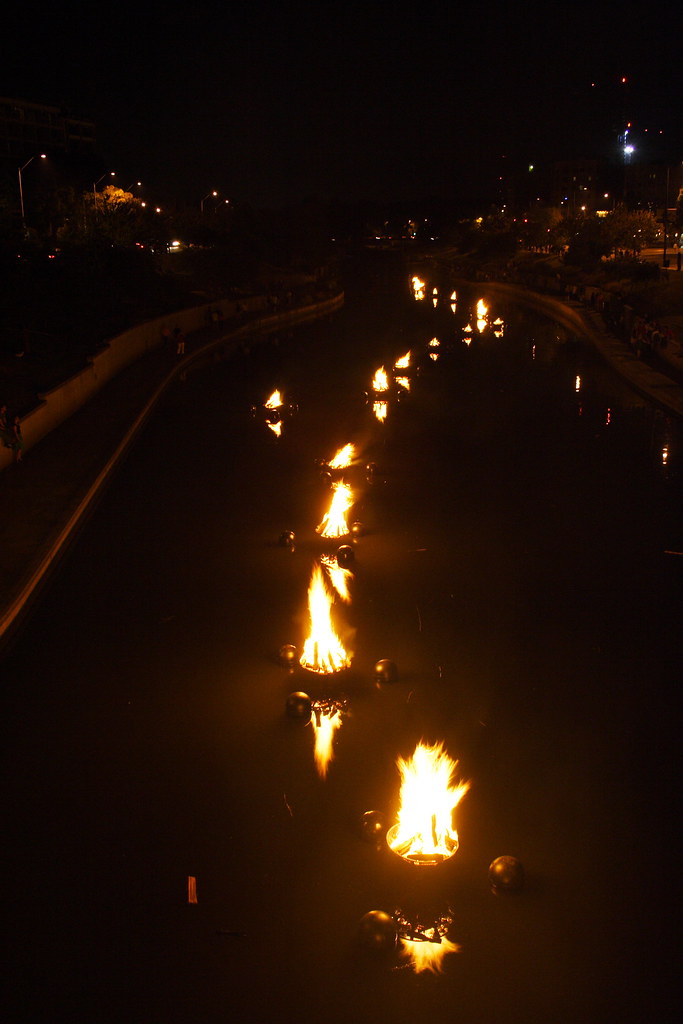
Last night there was a new event in Kansas City called WaterFire. This has been done elsewhere before with great success, and I was excited about the opportunity to photograph it.WaterFire is an event where they put 80 giant braziers in Brush Creek near the Country Club Plaza in Kansas City, filled them with wood and kept them burning all night. The effect of the fire combined with the water was quite impressive. TONS of people turned out for this. As you can see in the top photograph they also had fire juggles, fire breathers, and various other dancers and performers. It was a very cool event.
I am hosting a photograph contest on http://www.morguefile.com/ called DANGER! The idea is to take photographs of anything that shows danger, signs about danger, or people doing dangerous things. When I saw the fire breather I was thrilled and tried my best to get near him for a photograph. At first he was across the river from me. Then he was on a bridge two blocks away. I chased this guy through the crowd all night, but by the time I caught up with him, they were done performing for the night. I was SO bummed. Fire breathing is one of the most dangerous things you can do as the risk of accidentally inhaling the flames or fuel is tremendous and the damage that can cause instantly is horrific. If they said they were done, I was not about to push them. I did manage to get photographs of one of the fire jugglers, so that is some consolation.

It has been a great week. I hope next week provides as many opportunities for photographs as this one did.

Saturday, September 1, 2007

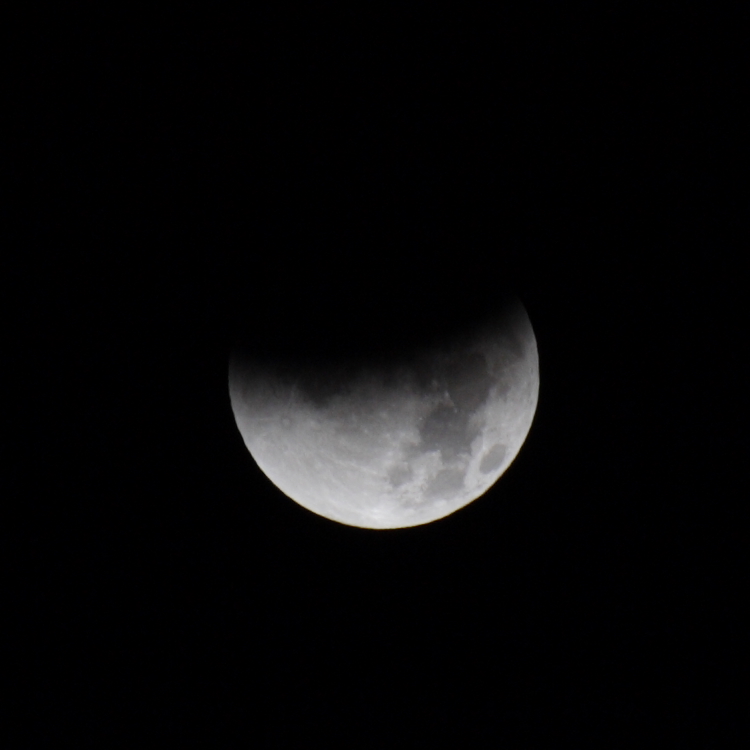
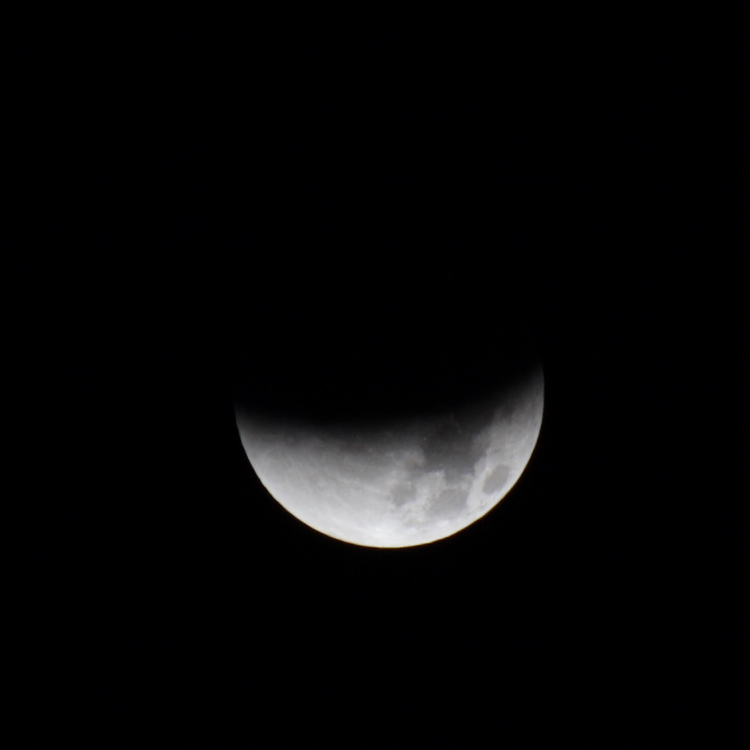
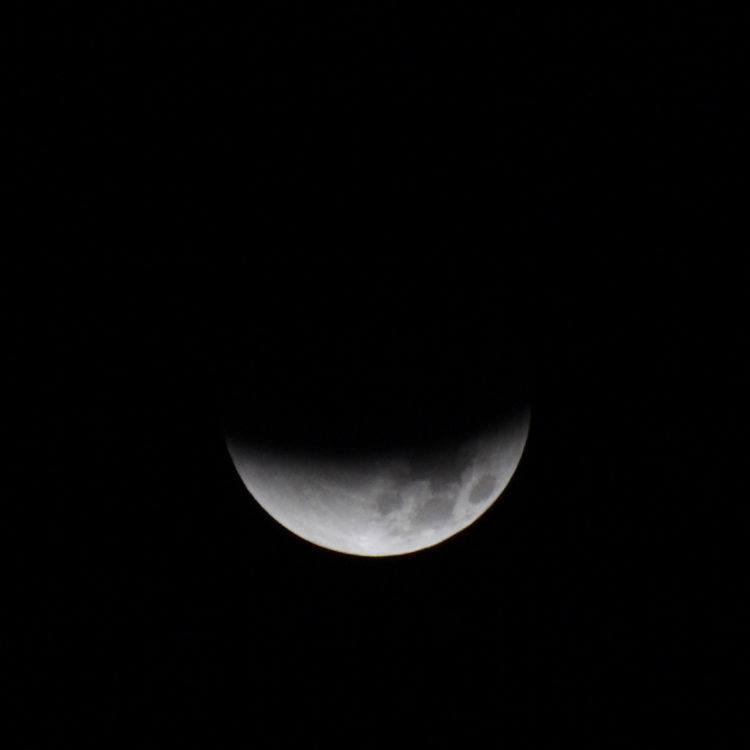
2007 Lunar Eclipse


I was very excited to find out there was going to be a lunar eclipse visible from my area. I have tried to see numerous comets, eclipses, and meteor showers in the past, only to have clouds and weather make visibility impossible. This year was different. The weather was almost 80 degrees and the skies were totally clear. I could not believe my good fortune.


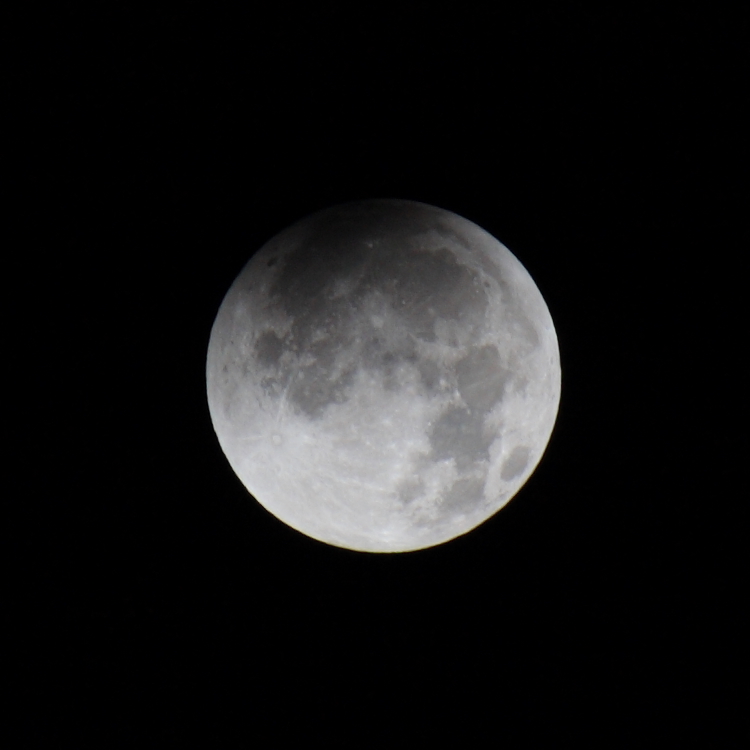
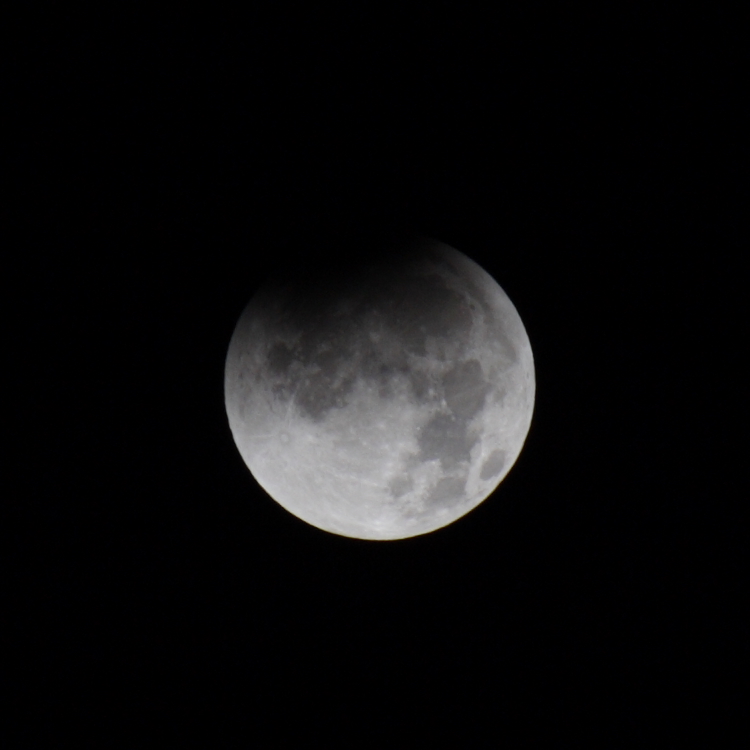
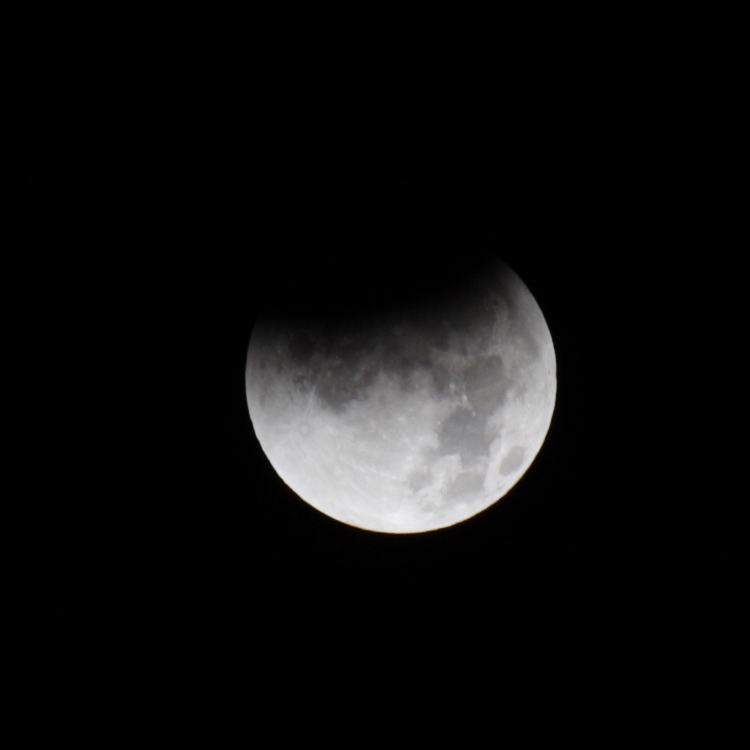
My attempts to photograph the moon in the past had been failures because I could not figure out the exposure time. Fortunately, I found a guide on the Internet that shows approximate exposure times for a given ISO and aperature combination. This was a tremendous help. For my ISO and aperture I needed a 1/60 shutter which blew me away. I figured you needed a much longer shutter to capture the moon. The other thing I never thought about was that I needed to slow the shutter as the moon moved further into eclipse because it was returning less light. At 75% eclipse I needed to slow down to 1/30. At 50% I needed to slow down to 1/15 and so on. This was a tremendous help and helped me capture pretty consistent photographs through each phase. The chart I used is at this link:


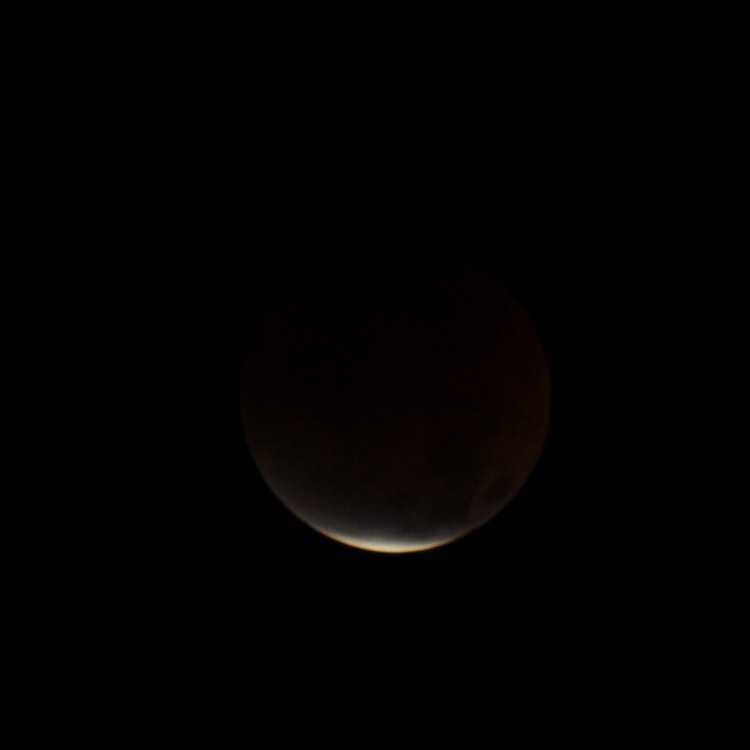
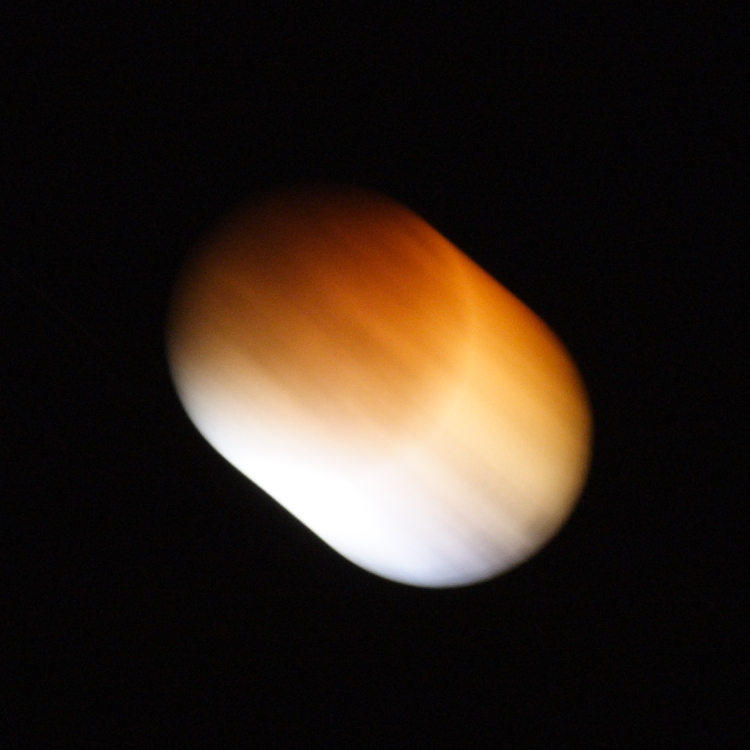
The thing this guide neglected to mention, or that I overlooked, is that the moon moves WAY FAST! As the moon moved into full eclipse I dropped my shutter speed way down just as the chart recommended so I could get a nicely exposed shot. Below you can see what happens when you photograph the moon with a 60 second exposure. Being the brilliant photographer I am, I reviewed this shot and realized 60 seconds was a tad too long. I spent the next hour taking several shots at exposures between 5 and 15 seconds. I had been concerned about the focus all night because I had a weird angle on my tripod and could not get a very good idea on whether the autofocus was working or not (I think it did pretty well). So, when I previewed the full exclipse shots zoomed in on the camera's LCD, I figured I was doing something wrong. I could tell they were still blurry, but I thought the tripod was moving or I was not getting the focus set properly. The next day I was reading about the experience of some other photographers and discoved a sad truth. Any exposure longer that 1/2 second is not going to be sharp. That meant ALL of my full eclipse shots were ruined. =(


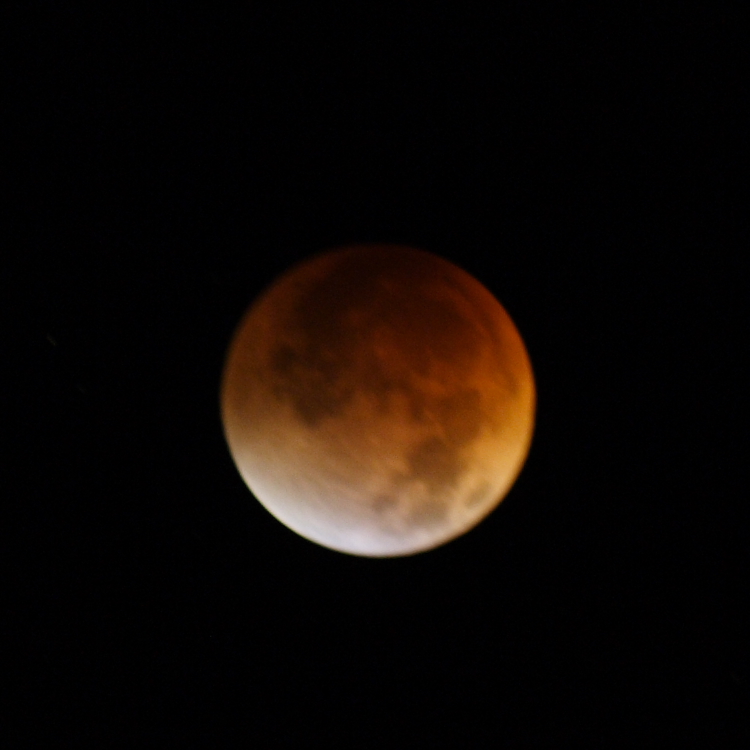
This was the best of the full eclipse shots in the umbral phase. The moon was going to set in my area long before the eclipse was over, so at this point I packed everything up and headed home. Overall this was a great experience. Just watching the eclipse was cool. I can understand how primitive civilizations thought something dramatic or magical was happening. I also learned a lot about what I will do different the next time, including having multiple setups for different types of shots. Now I want to get out and shoot some star trails.

Saturday, August 25, 2007

2007 Kansas City Airshow

I received a lot of postive feedback in response to my last post about being in a funk. Thank you very much to all who offered ideas. I have resumed my medication and I am feeling much better now. =)
The air show was in town this weekend, so I grabbed the camera and headed out to take some photographs. For two reasons I did not go to the airport to watch the show. The first reason is that you have to shuttle in and once you get there, you are stuck until the show is over. They don't have any buses leaving until the show is over. The second reason is...I am cheap! I originally stopped at an area of town that is on a hill but it was too far away to get any good photographs.

There is another area of town called Quality Hill that looks down on the airport. I was on my way there, but on the way I passed an area of town that seemed to provide an equally good view. I was maybe a quarter mile from the airport which is pretty good considering I did not buy a ticket.

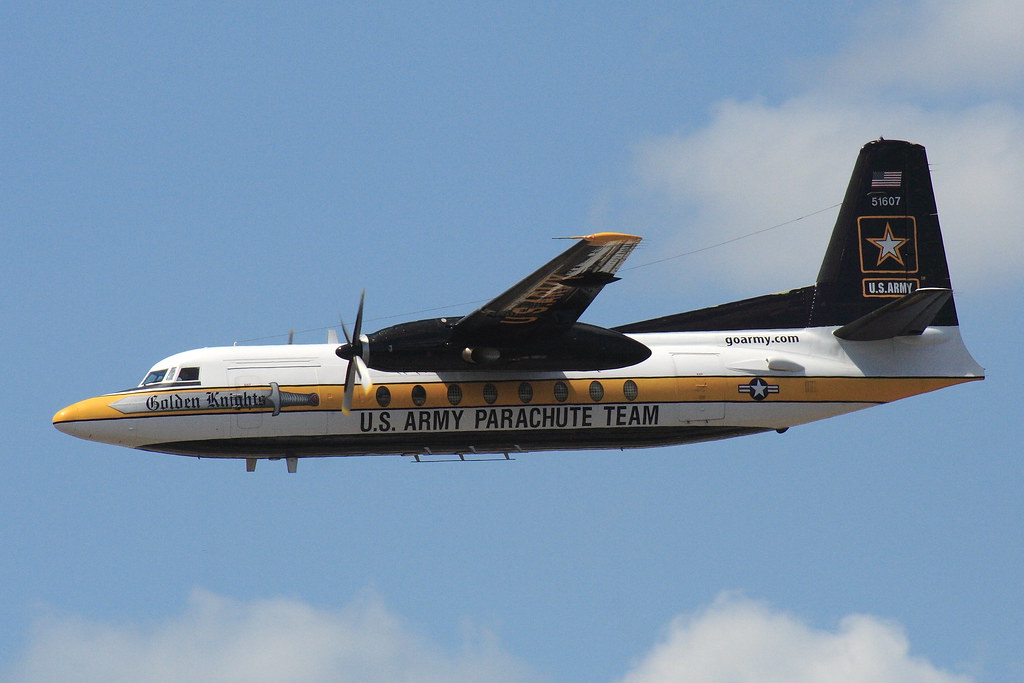
I chose the 70-300 lens as it is the longest one I have. I know from past experience this lens gets very soft past 250 so I tried to stay around 200mm. Now, a quarter mile does not sound that far, especially when you consider how much ground an air show covers. But, most of the action is designed to happen directly over the air field and even with a 300mm lens, a quarter mile is a long ways away. All of my shots had a LOT of sky in them. I cropped pretty heavy to get these shots and some of them show it. This was my first opportunity to film an air show, however, so I was happy just to be there. I did get a few opportunities when planes flew very close to us, like this shot of the Golden Knights jump plane.

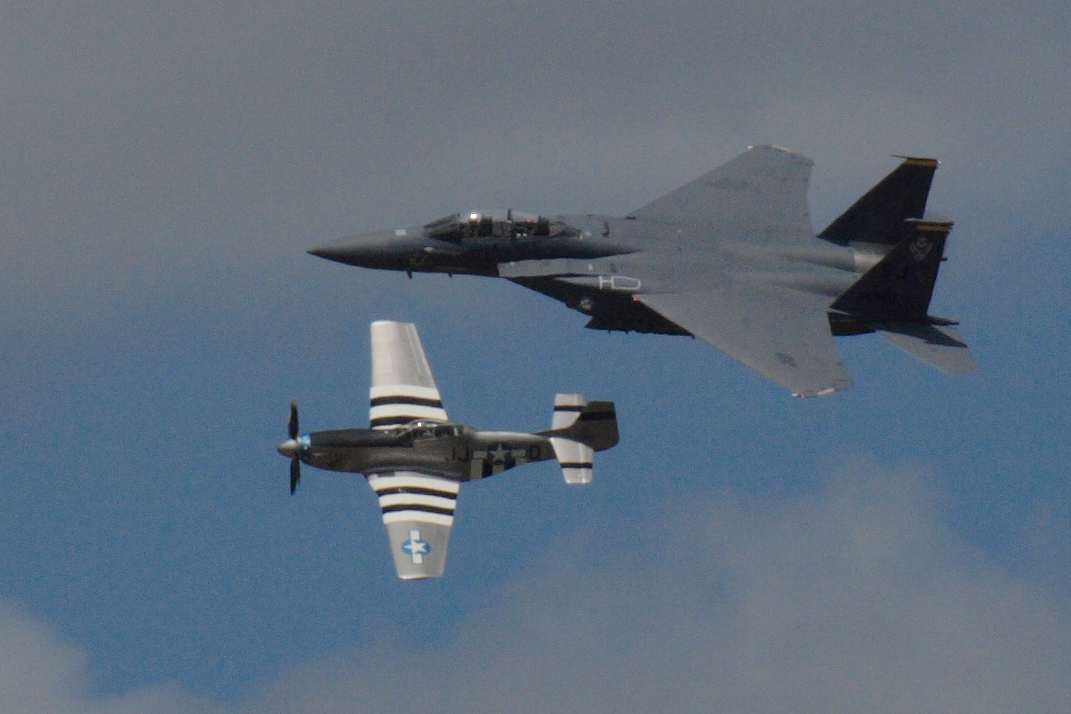
I spent about 3 hours shooting photographs and went through two 1GB cards. These are my favorites out of the bunch, but there are a few others that I also liked and I put all of these up on my Flickr account.

I am eager to get a better telephoto lens. The poor quality of this lens is evident in the softness of some of these photographs. I also have to take into account the distance, however. I am not sure how hard you can push even an "L" series lens from that distance. In reality, I may just need to shell out the cash for a real ticket next year.

Tuesday, August 21, 2007

In a funk!

Lately, I find myself in a photographic funk. What is a photograph funk? I am glad you asked!

I hate every photograph I shoot. Nothing seems worthy of being photographed, and I can barely stand the thought of pressing the shutter release on another photograph, only to be disappointed with how it will look. My studio lighting system is driving me nuts. All my photographs seem soft and fuzzy. I spend hours setting up and shooting stills only to find flaws in my backgrounds. I have several ideas for shots written down, but either my studio (aka whatever room in the house I set up in) is inadequate for the shot, I can't find the right natural background, or I don't have the right equipment (flash guns, umbrellas, soft boxes, macro lens, etc.) For many of my ideas I need models, but I have no idea how to work with models, and without the right equipment I would just end up wasting their time for shots I will still hate.

Add to all that the amount of information bouncing around in my head that I still don't fully understand. Every potential shot now presents me with what feels like 100 different questions, each of which must be answered correctly, or the shot is a failure. Which lens should I use? What settings should I choose? Shallow depth of field or deep DOF? Zoom in or go wide? How should I frame the shot? Flash or no flash. If I use the flash, do I bounce it off a wall, use a bounce card, or diffuse with a cup? What about the flash exposure compensation, move it up or down? What ISO? Which is more important, to freeze action or risk noise? Where is the natural light (if any) coming from? How will this impact the photograph? I mostly understand each of these concepts separately, but putting them all together in a way that works requires experience I don't yet have.

I am in a funk!

OK. Enough whining. Every photograph is work right now, and that is not going to cut it. One of the great things about photography is how fun it can be. I need some of that back. I really do want to be successful in stock photgraphy, but the reality is most of my shots will have no commercial value at all. If I maintain that as a standard, I will continue to hate my own work until I have no confidence in my abilities at all (I am almost there now).

I think I am going to spend the next week or two just taking tons of photographs with no expectations on them at all. Maybe they will all flop, but maybe there will be a few that are keepers. Either way, I hope that gets me back in the saddle. Experience only comes from doing something a LOT, and I clearly need the experience that comes from shooting a LOT more photographs.

Sunday, August 19, 2007

Microstock Photography

I took my first faltering steps into the world of microstock photography this last week. For those of you not familiar with stock photography, this is the arena where photographers sell photographs commercially through an intermediary. Stock photographs usually sell for $10 - $200 or more. Obviously, these need to be some really good photographs. The catch is that a photographer may submit hundreds of photographs, and only a few are purchased at any given time. Still, these photographs usually don't go out of date and any given photograph may continue to sell for years providing a nice income over time.
Microstock photography is the same concept, but the photographs sell for much less and they are royalty free. Microstock photographs sell for a few dollars or even less. There are many sites online that sell microstock photos. A few of them are:
www.istockphoto.com
www.shutterstock.com
www.dreamstime.com
www.bigstockphoto.com
www.fotolia.com

Each of these sites has slightly different criteria for the photographs they accept. Some are more picky than others. I have read that istockphoto and shutterstock are more picky than some of the others, so I started with dreamstime, bigstockphoto and fotolia. I chose 9 photographs and submitted them to each of these three sites. The results were mixed. Fotolia accepted all but one. Dreamstime rejected them all as having low commercial potential. Bigstockphoto has not reviewed my submissions yet making them the slowest of the three sites to review photographs.

Still, I am excited about this. For me, this is the acid test of my photography skills. When I can consistently shoot photographs with good commercial value, I will know I am making genuine progress. I have many ideas of photographs I want to shoot and submit. Now I just need to discipline myself into doing the work of setting up the photographs and actually taking them. This no small task in itself as several require models and careful background selection. I will share some of these in future blog entries as I build up my portfolio of stock photographs.

Saturday, August 11, 2007

On Scene at a Barn Fire

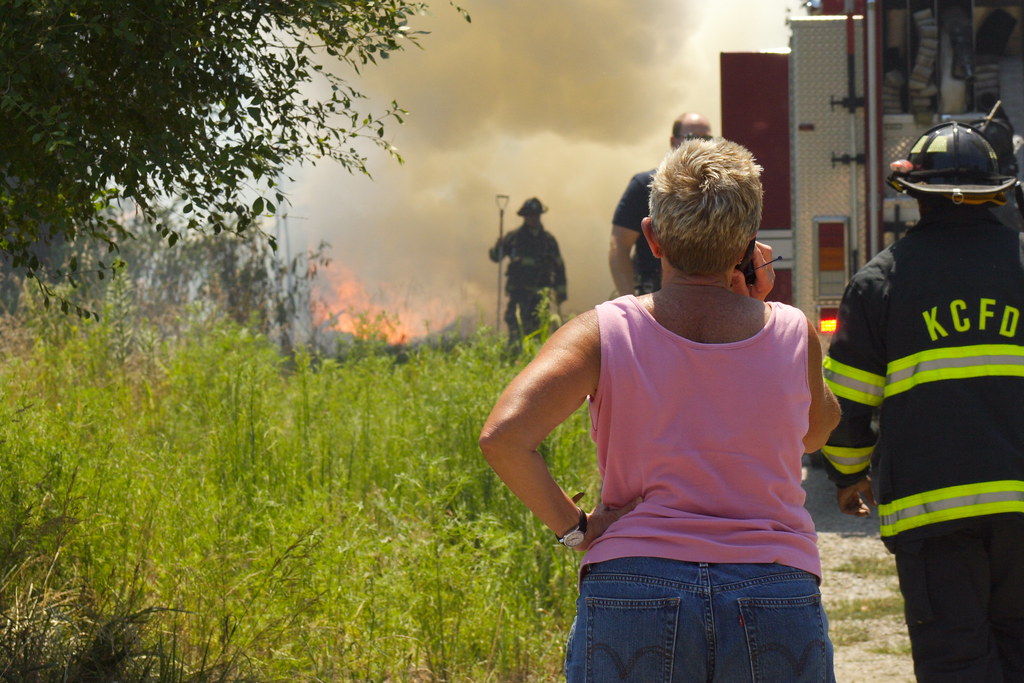
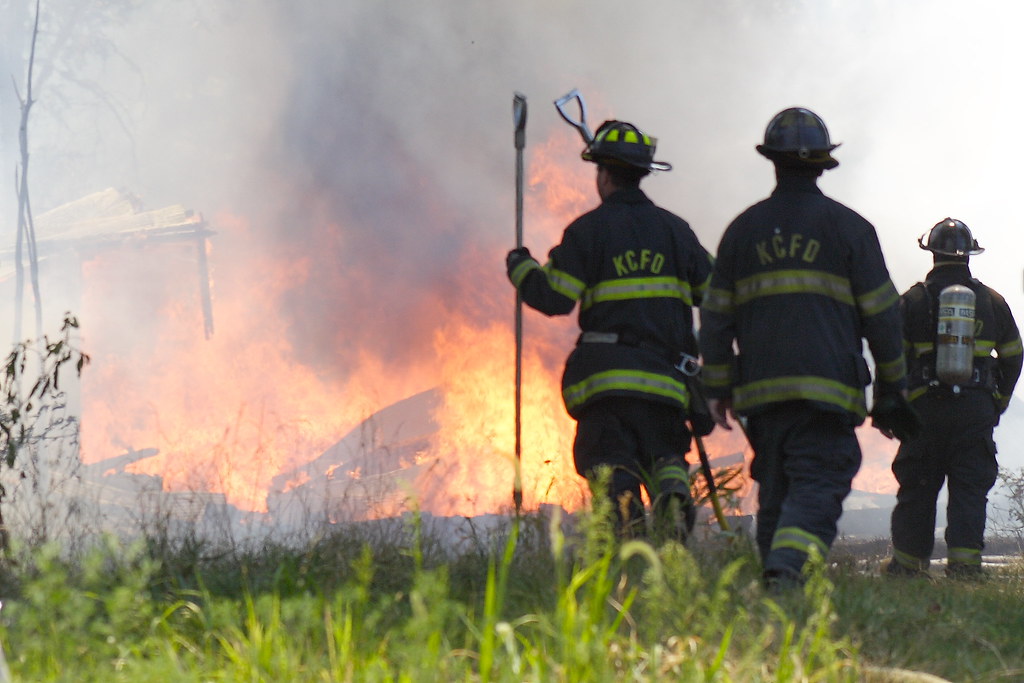
I was on my way home after spending some time at work this morning, when I saw this huge plume of black smoke off in the distance. In this area farmers often burn trash or brush, so a plume of smoke on the horizon is not unusual. However, the weather has been very hot lately and the conditions are pretty dry, so burning anything is not a good idea. I twisted the throttle on my bike and headed off in that general direction to investigate. As I crested the hill, my heart jumped in my throat a little as I saw the thick black smoke was coming from behind a small white house. My first thought was that someone's house was burning down which would obviously be disastrous for them. This was back on a country road with no shoulder so I could not pull off immediately to investigate further. As I rode past the house I could see the house itself was not on fire but the barn behind it was completely engulfed in flames. I could already hear the fire trucks in the distance so there was no need to call 911. I pulled off the road at the nearest driveway, grabbed my camera, and ran along the road toward the house.

A million thoughts are going through my head...do I use the polarizer?...ISO100 or 400?...stick with the kit lens or switch to the zoom?...how close can I get without getting in the way?...did I forget any key settings?...The first fire truck pulled up just as I got to the house. The house is on private property, and I did not want to be in the way, so I made sure to stay as close to the road as possible. Even so, I moved along the length of the property several times looking for the best places to shoot. I started out with the kit lens and the polarizer. The sun was straight up, and I like having the polarizer on to keep from blowing out any parts of the sky. I took several shots, but quickly realized I was not getting as close as I wanted to. I fell back behind the firetrucks and switched to the zoom lens. In the interest of time, I did not move the polarized filter from the kit lens, which I think worked out OK. More firetrucks were arriving and there were at least 10 firemen on the scene by now. I was very careful to stay out of their way and they did not bother me at all.

I saw several intersted bystanders and one lady even had a video camera. But, this one lady came up and I could tell she was obviously distressed. I asked if that was her house, but fortunately she said no. She also confirmed no one was inside or in danger. She and her husband leased the barn which they were using to store hay. They had almost 300 bales of hay in the barn along with their hay elevator. Now, this may not sound like a huge loss, but hay is in short supply this year and is selling for an abnormally high price of about $4.50 per bale. That is easily a loss of several thousand dollars in hay and equipment. Mrs. Suiter was very kind and gracious in the midst of her crisis and we talked for quite a while. I gave her one of my business cards and told her if the insurance company or anyone else could use any of the photographs for any reason I would be happy to provide them.
The police began arriving on scene at this point and one officer said I needed to move down past the last firetruck. This was down the hill and about 500 yards from the scene. There was no way I was going to get any more photographs from there, so I was pretty much done at this point. The temperature was 100 degrees. Combine this with no lunch, nothing to drink, and the adrenaline starting to fade and I decided it was time to be finished anyway.

I did several things right this time. I remembered to get all the information at the scene this time, and even worked up the courage to speak to the victim, which really was not that hard. I also made sure to park a pretty good distance away so I was not in the way of any of the emergency equipment. I fumbled through my camera settings and lenses OK, but I can see how important it is to spend time practicing with all the settings. In a pressure situation like this you fall back completely on how you have trained. The brain can only concentrate on so many things at once, and with everything else going on at the scene, working the math on specific camera settings was not going to happen. I can see how an experienced photographer will "feel" his way through a situation like this and adjust his camera to the conditions based on what has worked in the past. One of the things that was new to me was the need to switch to manual focus for several of the shots. The autofocus kept focusing on the wrong things, and it was faster to switch to manual.

The good news is no one was hurt. The barn was completely destroyed, but the white house on the property seems to have escaped any damage and Mrs. Suiter believes her insurance will cover all of their losses on this.

Saturday, August 4, 2007

Studio session with light tent

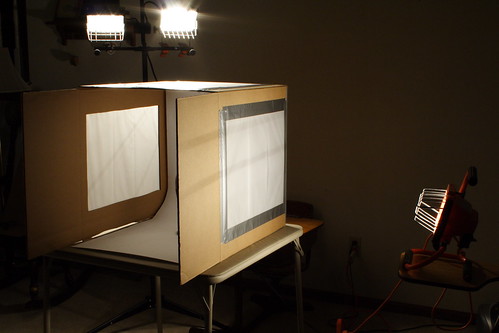
My last studio session with the flash left me very frustrated and disappointed. I submitted a few photos to my peers for critique and Bosela from the Morgue File suggested using a light tent. The Strobist has an excellent article on how to build one of these very cheap and useful tools. I was very impressed with the photographs on the Strobist's website, and built one of my own. I used a much larger box that was almost 2 ft. cubed. I purchased some tracing paper that was 14 in. x 17 in. and used four sheets on each side and on the top. For a background I started out with some poster board as per the Strobist's recommendations, but since my box was so much larger, the poster board was not big enough. Instead I purchased a roll of banner paper and cut a section that was 22 in. wide x 48 in. long. This worked perfectly. If you would like more information about building one of these, you can read the article at http://strobist.blogspot.com/2006/07/how-to-diy-10-macro-photo-studio.html.

I grabbed my work lights from the garage and placed one set on each side. This is what the setup looked like in my studio (aka my living room).


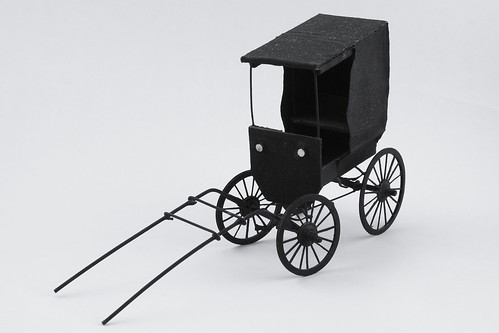
In order to get a good baseline, I used some of the subjects from my last studio session, the model carriage and the old book with the antique glasses. The results were much better! The shadows were almost completely eliminated and the light from the light tent was very soft and even. The paper background worked great and did not compete with the subjects at all.


I was very happy with the way these turned out, but my favorites from the session were the bottle of cherry vinegar at the top of this entry and this one.
This technique does a great job of isolating the subject and makes it especially easy to for publishers to paste into their layouts. Special thanks go out to Bosela and the Strobist for sharing this technique with me.