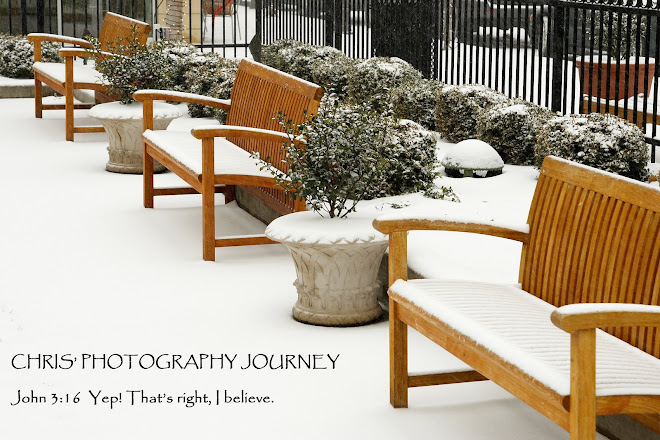
One of the weakest parts of my overall photography skills is post processing. Taking photographs is fun...looking at photographs is fun...processing photographs is work and is boring! Well, not always, but in general I don't like the post processing phase nearly as much as I like taking photographs. Since I was trapped inside and was burned out on taking pictures, it seemed like a good opportunity to revisit this important area of photography. I have been working on my photography for about a year now and I have a pretty good supply of photographs to work on. It has always been my goal to get as much right as possible when taking the photograph so the need to post process would be minimized. Even so, I had no trouble finding several photographs that were good candidates that needed some pretty serious correction.
I shoot in RAW most of the time so all of my shots get a base level of processing using Canon's Digital Photo Professional (white balance adjustment, base sharpening, and basic contrast . For more serious correction I then move to GIMP because it is free. I recently picked up a graphics tablet and it came with a copy of Adobe Photoshop Elements 5.0 so I have two very nice packages for manipulating digital images. What I don't have is much skill with using them.
This photograph is one that immediately drew my attention. I was no happy at all when I took it. This my brother-in-law with Jimmy Bratcher. My BIL is a big fan of Jimmy so I was glad I got to take a photograph of them together. However, I had about 10 seconds to adjust my camera, get in position, and take the shot. The results were not very good.
 The overall scene is too dark. My BIL has stains on his shirt from dinner a few minutes earlier (which were not his fault BTW), and there are no shortage of distracting elements (click on the image to bring up a larger version and you can see what I mean).
The first thing to do was lighten the overall image. PSE has a smart adjustment tool that did a great job for that part. The next thing was the stains on my BIL's shirt. I used the clone tool to carefully clone out as many of these as I could without losing the texture of the shirt which would have made the shirt look flat. I also cropped in closer on the subjects to remove as much distraction as possible from the edges of the photograph. My wife's hand on the left of the image was all that was left of her after the crop and I found it distracting, so I cloned that out also. There are two flash reflections in the upper right of the photograph that I did not like. I started using the dodge and burn tool but I was not happy with the results. These areas were completely blown out so I turned to the clone tool again to repair the blown out parts. Here is the end result.
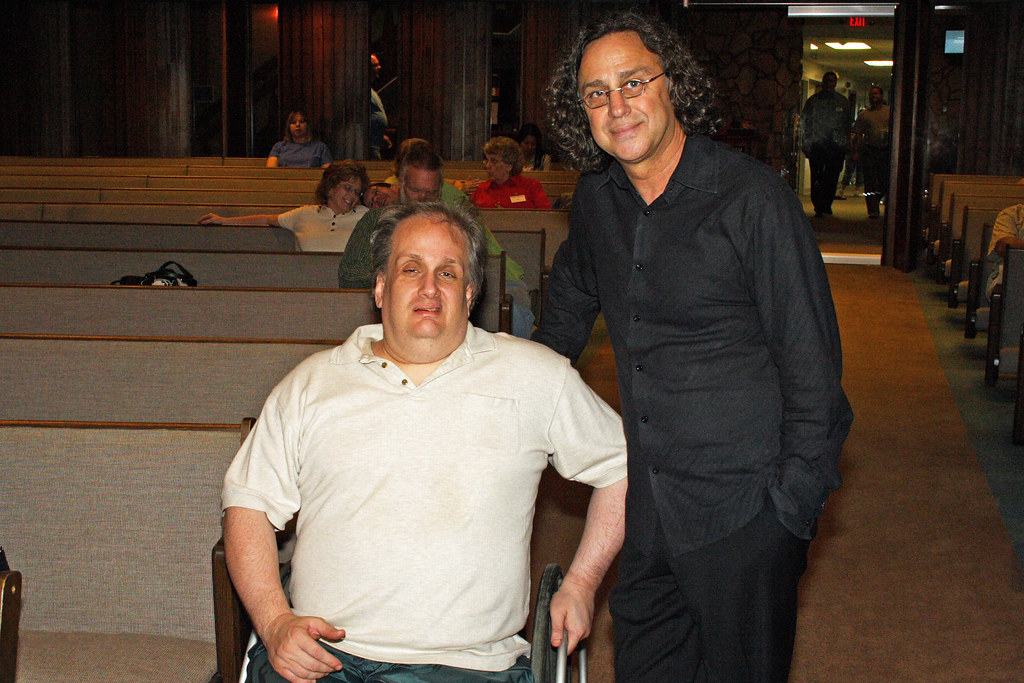
It is still a hack job, but in my opinion it is much better. We will probably never have a chance to retake this photograph so making this photograph as good as I can for my BIL is important to me. My BIL is so gracious and was happy with the original photograph, but I am glad I will get to present him with this improved version.
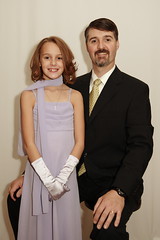
A second photograph I found to work on was of my daughters in a carnival ride. I did not realize it at the time, but the flash reflection in between the girls is really distracting.

Again, this area is blown out completely so there is no detail to restore. I thought the burn tool might help here, but I was not getting the results I wanted. I thought about using the clone tool, but that did not seem like the right tool for this job. Instead I turned to the spray brush tool. I sampled the brown of the background and slowly began painting in the blown out highlights. It was not my intent to completely replace this area, but rather to keep it more natural looking in which case this area would still be be lit a little more. This is the result:
 I am pretty happy with the result, but what do you think? If you did not know how it looked before, would this appear natural to you? Or, does it look hopelessly photoshopped?
The hard thing about post processing is knowing when to stop. Once you start making changes it is easy to just keep going. The risk is that the image will not look natural anymore. I like the way these turned out, but even if they are not masterpieces, I learned a lot more about how Photoshop works, and that was the goal of the exercise.

2 comments:
The spraypaint was a really good idea for a solution- but you've got some overspray on each girl's arm/hands.
Wow, good eye, Blue. Thanks for pointing that out. This has to be one of my least favorite photographs of my daughters, but it did make for a good example. Thanks for stopping by. =)
Post a Comment