Thursday, February 7, 2008

The never-ending quest for better flash photographs

When the topic of flash photography comes up online someone will eventually link to the information at The Strobist. This guy has forgotten more than I will ever know about flash photography. He has a ton of useful information and it will probably require several readings to absorb much of it, especially if you are new to flash photography. One of the setups he uses a LOT is a single umbrella on a stand with a Speedlight flash (or other brand) controlled by wireless triggers. I love the results he has been able to achieve with this so I invested in a similar set up.

Now, I cheaped out on the wireless flash triggers. The industry standard for wireless flash triggers is a product called Pocket Wizard. Each one of these beauties costs about $175 and you need two at a minimum (one for the camera and one for the flash). GadgetInfinity sells a competing product that sells for about $36 and includes both a transmitter and receiver. Needless to say, I went with this cheaper option. However, I did encounter some shortcomings right away. With my shutter speed set to 1/125th I had several initial exposures that were either completely dark or half dark.

This is caused by sync problems between when the flash ignites and when the shutter opens. 1/125th is well within the product specs which should sync up to 1/200th. This may be due to some interference in my house. The trigger can use four different channels. By switching to a different channel I may see better results. More likely, however is that the battery that came with the unit was weak. After using it on a shoot for my church, the trigger stopped working completely. After replacing the battery the triggers began working perfectly. I knew this product was not 100% reliable when I purchased it. If you want 100% reliability you spend the money for the Pocket Wizards. For the cost savings I am going to try to live with intermittent sync problem.

When the sync did work, I was really excited about the results. The lighting was very soft and diffuse and I now have the ability to light my subjects from different directions to achieve different effects.

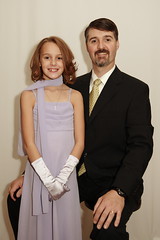
This new equipment opens the door for me to experiment with some new techniques such as side-lighting for a Rembrandt effect. Moving the flash off-shoe and off to the side does a lot to minimize flash shadows (which I have come to hate.) Also, notice no reflection in the glasses. The softer light from the umbrella reflection is more pleasing and uniform and creates a more natural looking photograph. Buying new equipment does not ensure better photographs, however. Now it is time to start learning how to use this new gear and see if the results I can achieve are better than what I have done in the past.


Monday, February 4, 2008

Sometimes, you get what you pay for.

I posted an entry not long ago about a homemade backdrop stand, and how sometimes you don’t have to spend the big bucks to get the job done. I still believe that is true, but I did run into some problems with my backdrop stand. It filled my immediate need for a shoot with a client, but when I purchased some larger backdrops, the stand just was not strong enough. I will also say that even though the homemade stand can be taken apart, some of the pieces are still six feet long (or more) which makes it difficult to transport. I shoot on location most of the time so having items that are easy to transport is a huge issue for me.
All of that is to say, I broke down and bought a real backdrop stand. Even so, it was not that expensive. I found one at a local photography store for about $160.00. The kit includes two tripod supports which fold down to be very nice and compact. The crossbar that supports the backdrop comes in four sections allowing widths from 3 feet to about 12 feet. It also came with a black cordura case that holds everything in a surprisingly small and easy to carry package. The tripod ends are rock solid and they adjust to more than 8 feet tall. The great thing is I can set up the supports (which start around 4 feet high), and then put the cross bar in place. Then I easily raise the supports to the desired height with no ladder required. The homemade stand required that I put the end supports up, and then set the crossbar on top, which was quite tricky.

I purchased two pieces of muslin from a local fabric store. One is naturally a light tan color which I left. The second I purchased in white and died it black, but it came out dark grey which I am satisfied with for now. Both are 7.5 feet wide and over 12 feet long. I did my first shoot with a client using this muslin and the new backdrop stand and it was great. I was able to move the client about 5 feet in front of the backdrop. I used a cable to move the flash off-shoe and hand-held it about 3 feet to my left. I also used the Gary Fong Lightsphere on the flash. The end result was a nice uniform backdrop, soft lighting and no distracting shadows.I really did try to find a cheaper solution, but they key to the whole backdrop stand is the two supports with tripod feet. I was not able to find any other solution that even came close to the $160.00 for the kit that was designed for this purpose. Does everything related to photography

Saturday, February 2, 2008

Protest in Kansas City


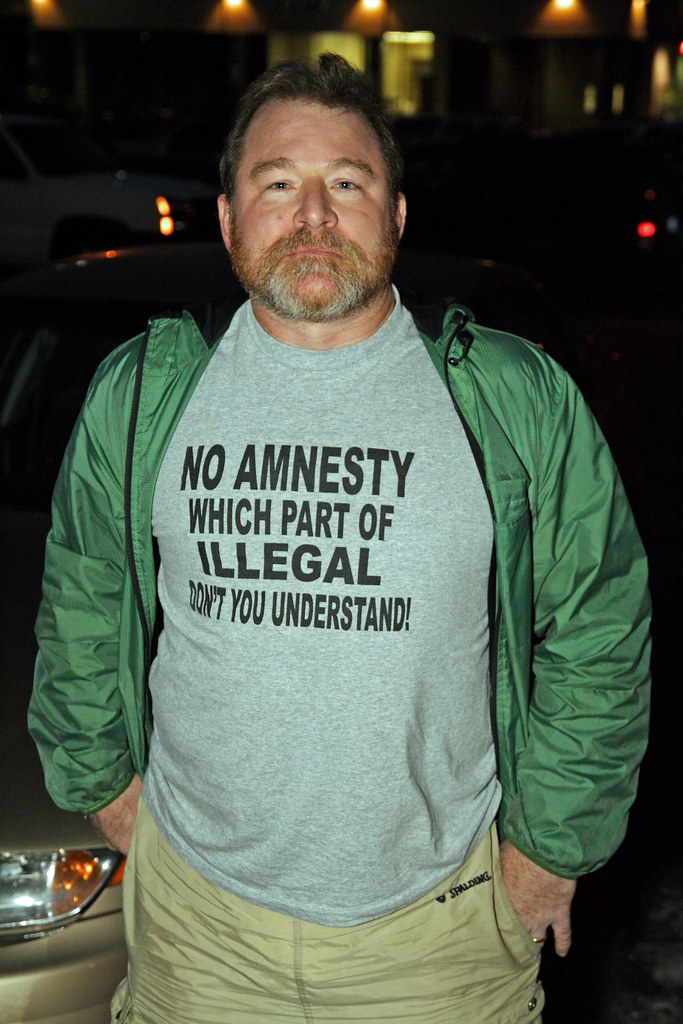
MM Protest 015
Originally uploaded by Chris in KC
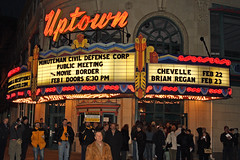
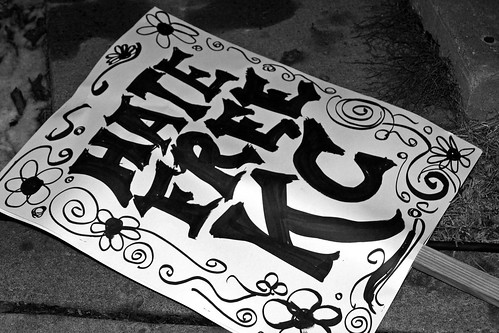
The Minutemen Civil Defense Corp held a recruitment rally in Kansas City on February 1, 2008. I have been wanting to photograph a protest for months and there were several groups who decided to protest against the Minutemen. I have always appreciated the photographs of significant historical events and even though this particular protest might not be that significant, I felt it needed to be photographed.
I am not going to get into my views as they relate to the Minutemen and immigration. This blog is not a political one, but rather one focused on my passion for photography. I do have very strong opinions about this subject, but they may not be what you think.The meeting was scheduled for 7pm. I left my house around 5:15pm so I could find a place to park and ensure I was in position early enough. I almost missed it! By the time I parked and approached the Uptown Theater where the event was being held, the protest rally was in full swing.
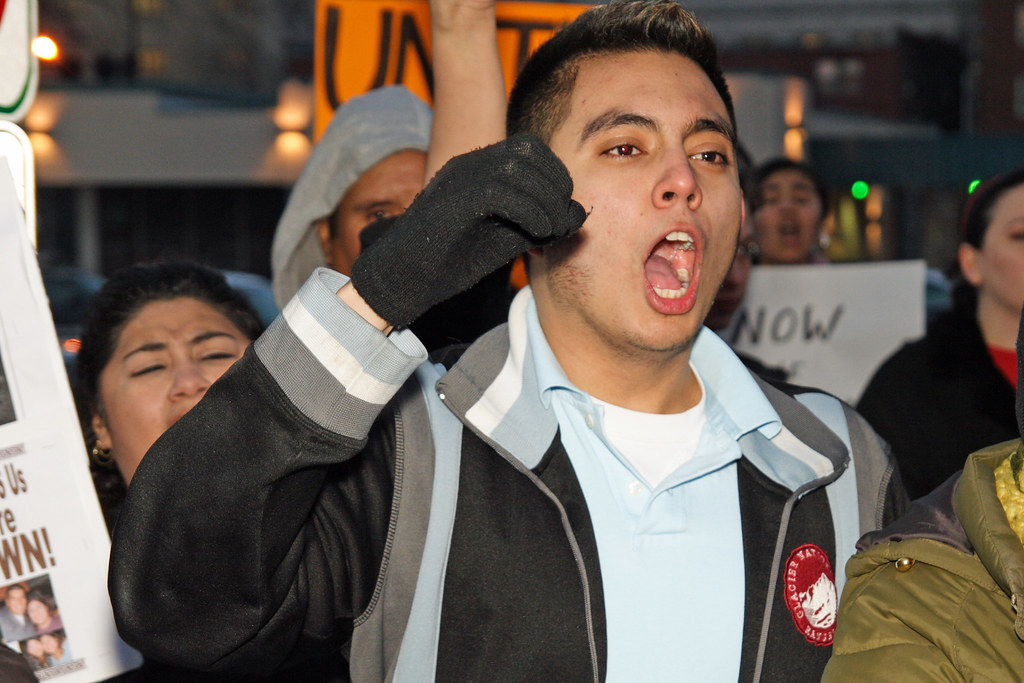
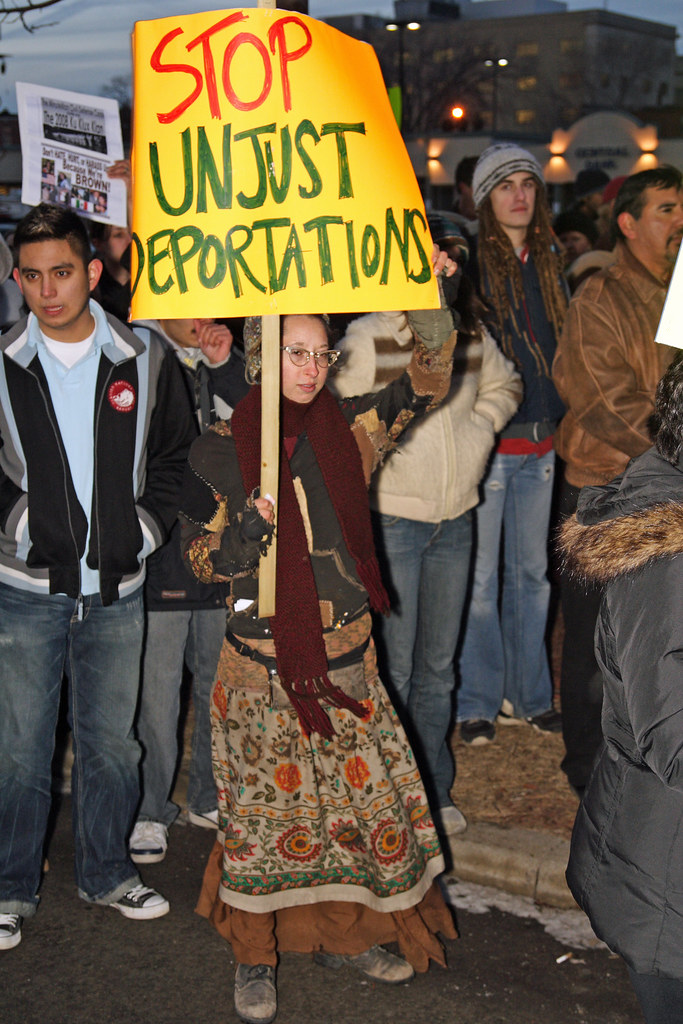
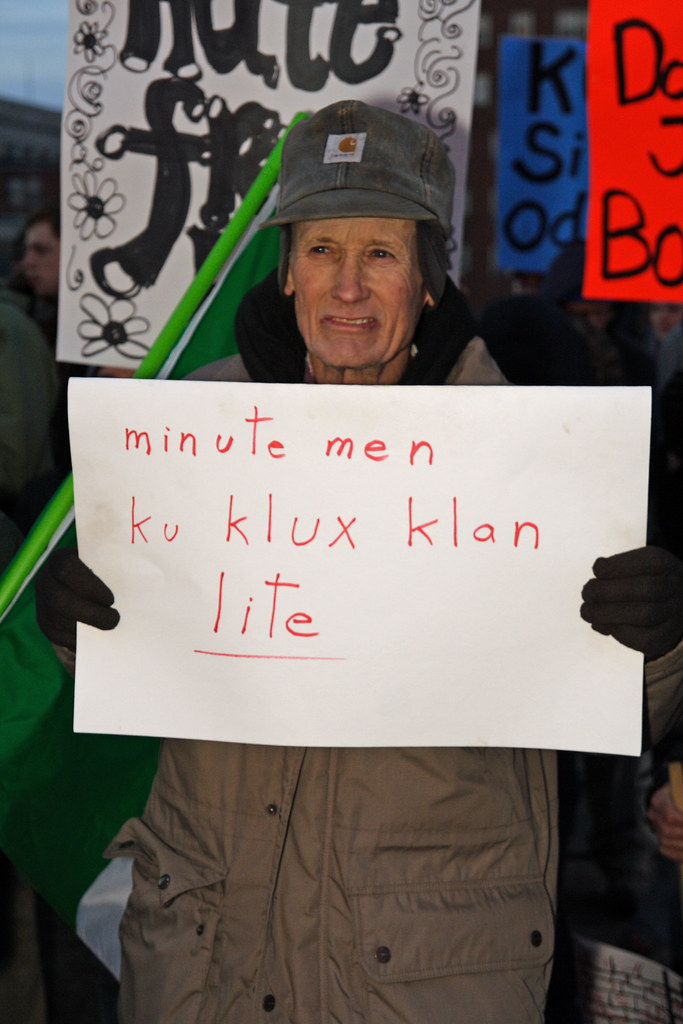


The leaders of the protest were speaking through a bullhorn to their followers. Within 15 minutes, they finished and all marched past the theater and back to a church where they finished their rally. Very few protesters remained and everything seemed very uneventful, so I almost went home. However, there was almost one hour left before the Minutemen meeting started so I decided to hang around and see if any other protesters showed up. I was not disappointed.
There were a group of young people who did not seem to be part of the original protest. They were all dressed similarly and several wore bandannas over their faces, which they said was due to the cold. The original group of protesters was very organized and the leaders were controlling the participants to avoid any kind of conflict. This group of young people was completely the opposite and had very foul mouths. Even so, they seemed interested in avoiding any kind of physical conflict.At this point you are probably wondering, "What about the Minutemen?" Well, their side of the event was pretty boring. There was one lady outside with a homemade sign, and one other man with a printed sign. Most of their activities were focused on the meeting which started at 7pm. I am not omitting them on purpose, there just was not much to show.Toward the end of my time there, three more young people showed up dressed in costume. The costume that caught my attention most was of a white knight of the KKK.The atmosphere of the entire event was tense with strong emotions on both sides. But, there was no violence and everyone seemed pretty well behaved. In all, it was an example of free speech in action where everyone can speak their mind.
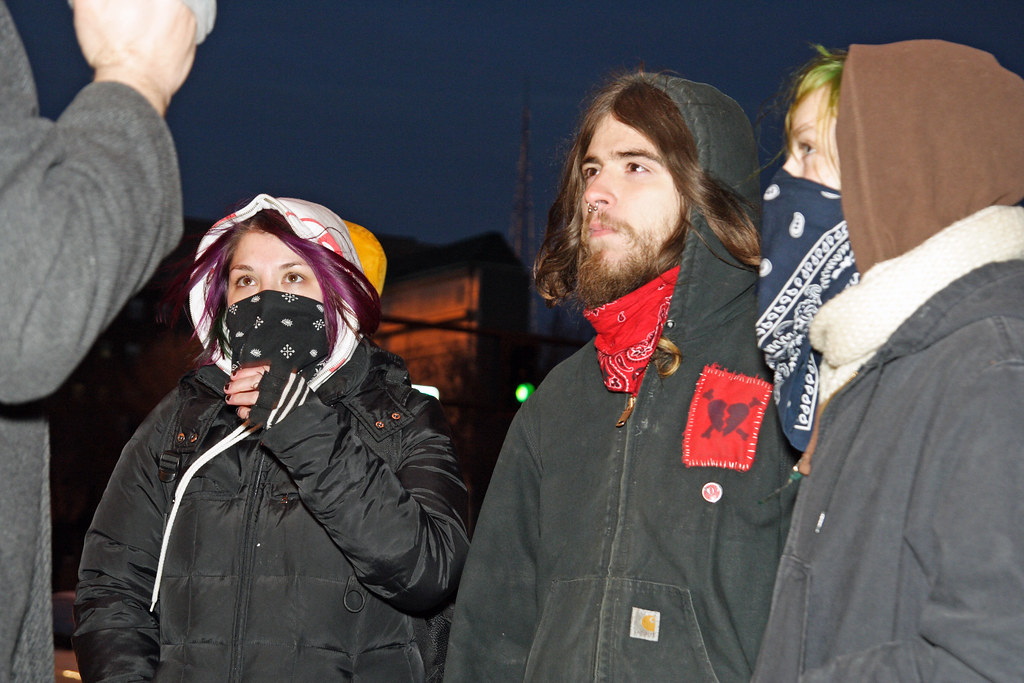
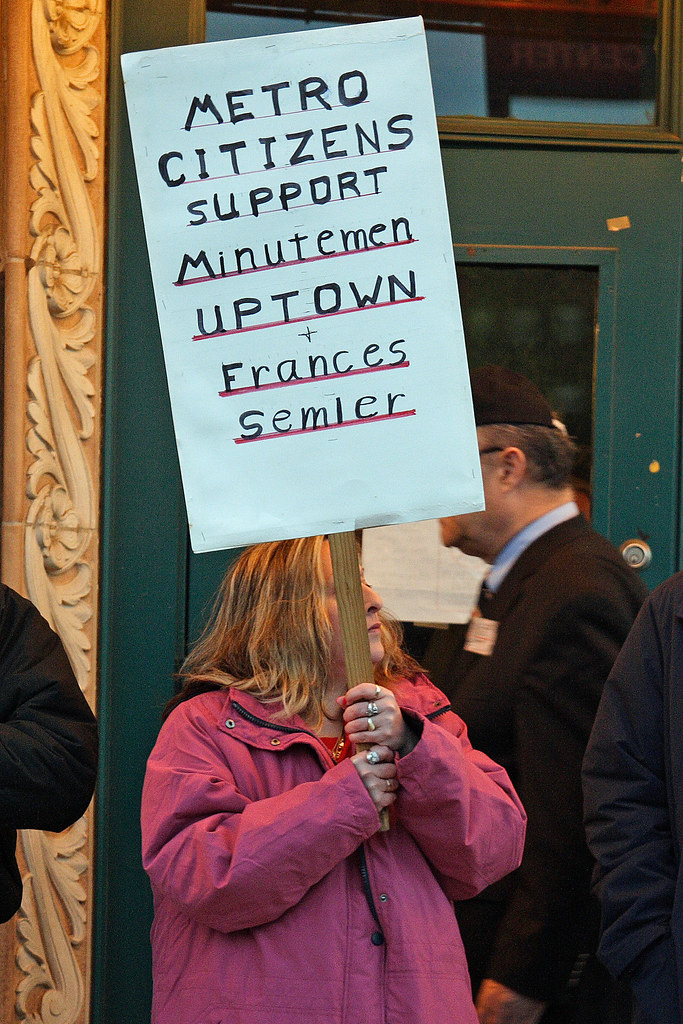
Tuesday, January 29, 2008

Too cold to photograph? Post process instead!

I don't know how it is where you live, but here in Kansas City it is way cold! It has been that way for months now and I have had my fill of going out in the cold and shooting snowy scenes. I am also burned out on studio work right now. So...what to do?
One of the weakest parts of my overall photography skills is post processing. Taking photographs is fun...looking at photographs is fun...processing photographs is work and is boring! Well, not always, but in general I don't like the post processing phase nearly as much as I like taking photographs. Since I was trapped inside and was burned out on taking pictures, it seemed like a good opportunity to revisit this important area of photography. I have been working on my photography for about a year now and I have a pretty good supply of photographs to work on. It has always been my goal to get as much right as possible when taking the photograph so the need to post process would be minimized. Even so, I had no trouble finding several photographs that were good candidates that needed some pretty serious correction.
I shoot in RAW most of the time so all of my shots get a base level of processing using Canon's Digital Photo Professional (white balance adjustment, base sharpening, and basic contrast . For more serious correction I then move to GIMP because it is free. I recently picked up a graphics tablet and it came with a copy of Adobe Photoshop Elements 5.0 so I have two very nice packages for manipulating digital images. What I don't have is much skill with using them.
This photograph is one that immediately drew my attention. I was no happy at all when I took it. This my brother-in-law with Jimmy Bratcher. My BIL is a big fan of Jimmy so I was glad I got to take a photograph of them together. However, I had about 10 seconds to adjust my camera, get in position, and take the shot. The results were not very good.The overall scene is too dark. My BIL has stains on his shirt from dinner a few minutes earlier (which were not his fault BTW), and there are no shortage of distracting elements (click on the image to bring up a larger version and you can see what I mean).
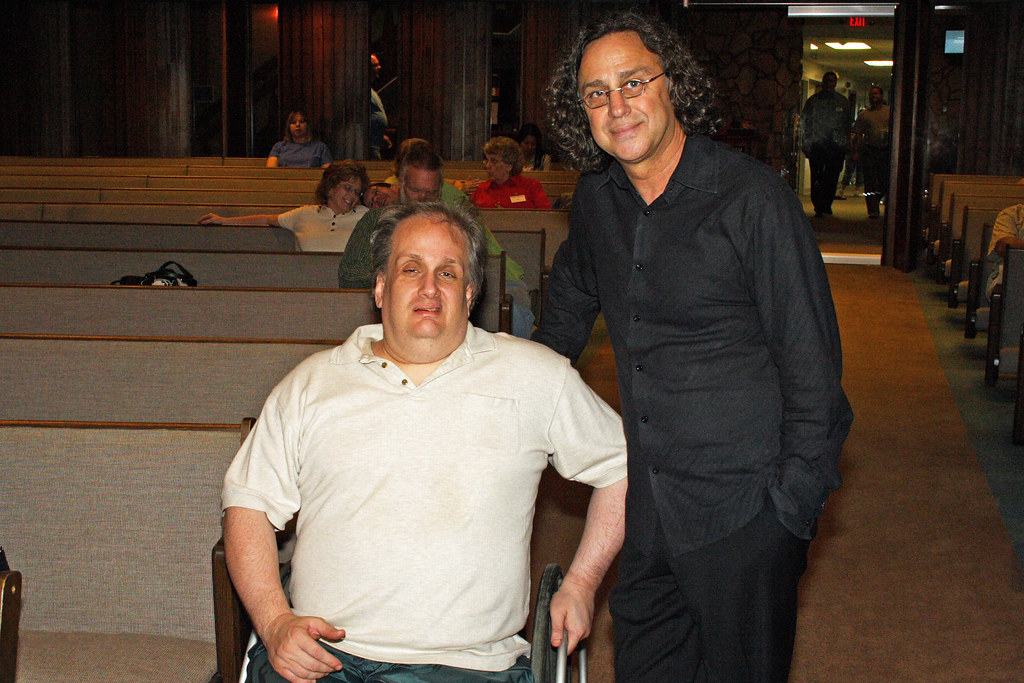
The first thing to do was lighten the overall image. PSE has a smart adjustment tool that did a great job for that part. The next thing was the stains on my BIL's shirt. I used the clone tool to carefully clone out as many of these as I could without losing the texture of the shirt which would have made the shirt look flat. I also cropped in closer on the subjects to remove as much distraction as possible from the edges of the photograph. My wife's hand on the left of the image was all that was left of her after the crop and I found it distracting, so I cloned that out also. There are two flash reflections in the upper right of the photograph that I did not like. I started using the dodge and burn tool but I was not happy with the results. These areas were completely blown out so I turned to the clone tool again to repair the blown out parts. Here is the end result.

It is still a hack job, but in my opinion it is much better. We will probably never have a chance to retake this photograph so making this photograph as good as I can for my BIL is important to me. My BIL is so gracious and was happy with the original photograph, but I am glad I will get to present him with this improved version.

A second photograph I found to work on was of my daughters in a carnival ride. I did not realize it at the time, but the flash reflection in between the girls is really distracting.
Again, this area is blown out completely so there is no detail to restore. I thought the burn tool might help here, but I was not getting the results I wanted. I thought about using the clone tool, but that did not seem like the right tool for this job. Instead I turned to the spray brush tool. I sampled the brown of the background and slowly began painting in the blown out highlights. It was not my intent to completely replace this area, but rather to keep it more natural looking in which case this area would still be be lit a little more. This is the result:I am pretty happy with the result, but what do you think? If you did not know how it looked before, would this appear natural to you? Or, does it look hopelessly photoshopped?

The hard thing about post processing is knowing when to stop. Once you start making changes it is easy to just keep going. The risk is that the image will not look natural anymore. I like the way these turned out, but even if they are not masterpieces, I learned a lot more about how Photoshop works, and that was the goal of the exercise.

Monday, January 28, 2008

The missed shot...photographer or participant?

There is no photograph for this entry. That is because I missed the shot I wanted. We were at church and a spontaneous event happened when the worship leader had the entire church gather around our senior pastor and pray for him. Our senior pastor, Pastor John, was fighting off a sore throat and possible laryngitis. Unfortunately, Pastor John was also scheduled to speak for three days at a Ministry Leadership Conference for the next three days, and laryngitis would make this especially difficult. As we were all gathering around Pastor John it dawned on me how unusual an even this was, and I thought this would make a wonderful photograph (or at least it had the potential for one). However, I also realized that meant I had to shift very quickly from being a participant in the service, and more specifically, this opportunity to minister to the man who so regularly ministers to me, and roll into photographer mode. Decisions...decisions.
In the end I decided to stay and participate. I would have made a horrible photojournalist. I don't transition quickly enough between participating in and event and photographing it. In fact, I find I need to psyche myself up for most of my photoshoots. Conversely, if I go to an event as a photographer I participate very little and am constantly scanning for good shots. I am very compartmental this way.
So, is this just the way photography works? Are most photographer's this way? Or, are there those that can flow quickly between both modes without even thinking about it? Does this just come with experience? This is more of a curiosity to me than anything else. I am sorry I missed the shot I wanted, but it was a fair exchange for the opportunity to pray for Pastor John in his hour of need.

Wednesday, January 16, 2008

Does all photography stuff have to be expensive???

Anyone who has been a photographer for long knows that photography equipment is expensive. There is always something else to buy and anything that is labeled for photography seems to instantly double or triple in price. So, do you HAVE to spend tons of cash to get great results? Well, maybe not for everything.
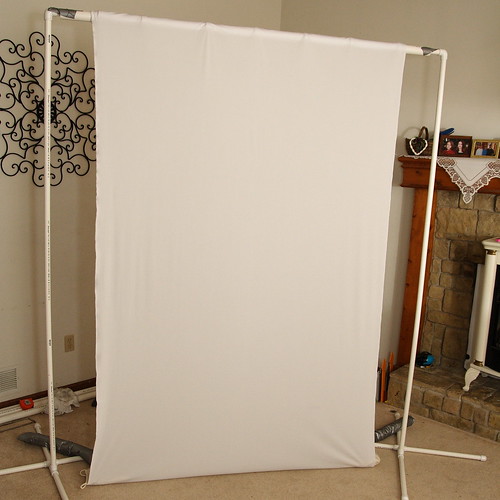
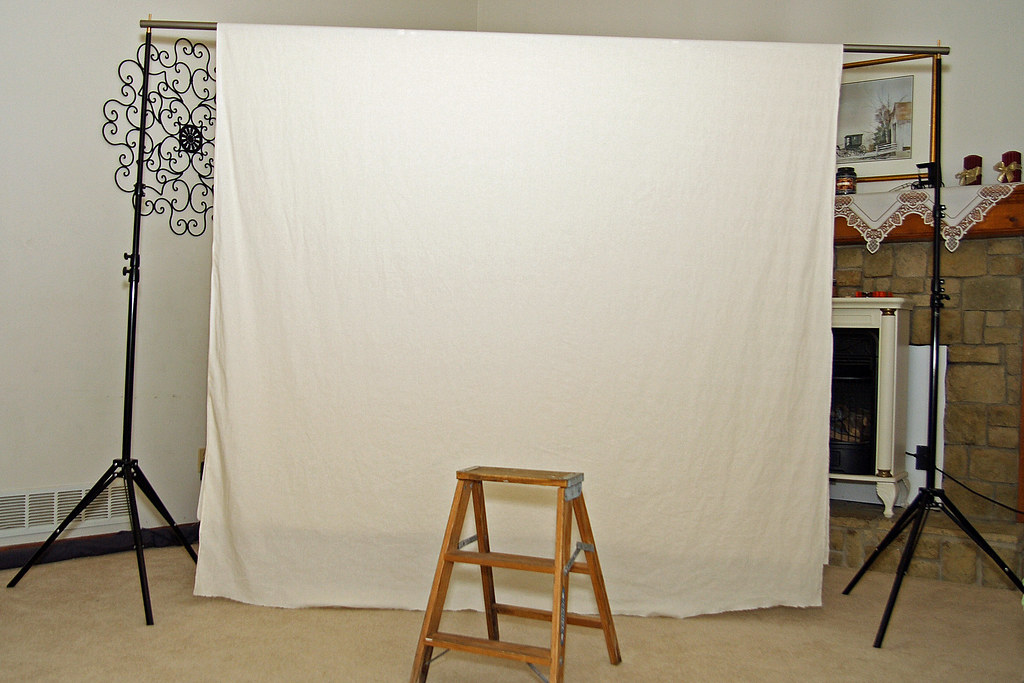
I needed a backdrop frame for a job. It needed to be portable so I could transport it to the shoot location. Professional portable backdrop frames cost hundreds of dollars and usually come without backdrops. The backdrops alone can run several hundred more for EACH additional backdrop. Now, hundreds of dollars is something I don't mind investing in high quality lenses or maybe a new camera body, but on backdrops? Come on!

So, off to the Internet I went. Surely someone out there had already designed a cheap and portable backdrop frame. It did not take me long to find a design I liked. I found one at Kenrick Parrish's website that looked exactly what I needed.

All the instructions for building this are detailed at his site, so I won't go into that here, but the important part is I was able to put the entire package together for around $50. The other nice thing about this stand is it is easy to change out backdrops. If you keep your eyes out for sales at the fabric stores, you can secure some very nice, heavy backdrops for $30-$50. Then you can use this system to roll them up when they are not in use which keeps the wrinkles out. If you are looking for a backdrop stand on the cheap, I encourage you to check out this system.
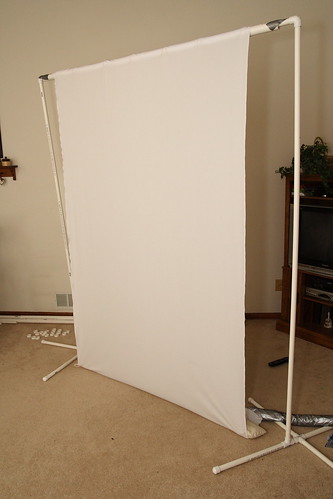
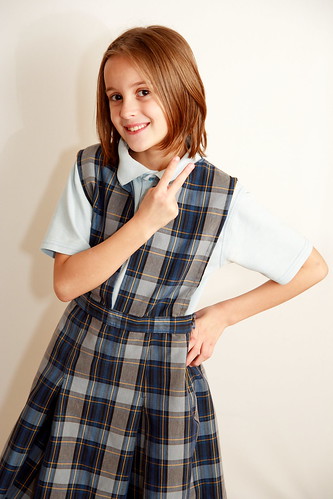
Now, having said how much I like this system, I still am not thrilled with my portrait results. I get better each time, and I keep learning more and more, but I have a long way to go. There are still way too many visible shadows (as you can see on the top photograph and in the one of my daughter below). These would probably be less noticeable on a backdrop that was not pure white, but I want to minimize them as much as possible regardless of the backdrop color. (Just a reminder, you can click on the photographs to see a larger version. The don't seem to render very well in my blog for some reason.)

I am working on moving my flash off to the side with a wireless trigger and umbrella stand, but again, that all costs money. I have also been told to move my models farther out from the backdrop, but my current backdrop is too narrow and when I move them out, you can see the edge of the backdrop in the photographs. But, the important thing is I was able to use this system to meet the specific goals of this shoot without breaking the bank.

Oh, and my daughter loves to "peace out" in front of it. That alone makes it worth the price, right?

Tuesday, January 1, 2008

Christmas Play and my new lens


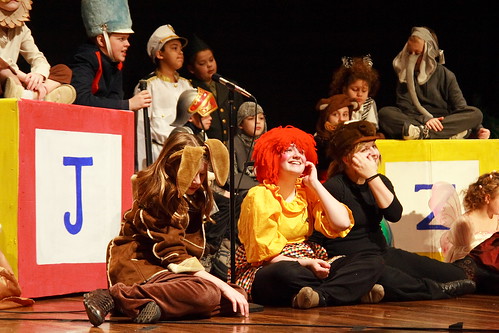
Velveteen rabbit 008
Originally uploaded by Chris in KC
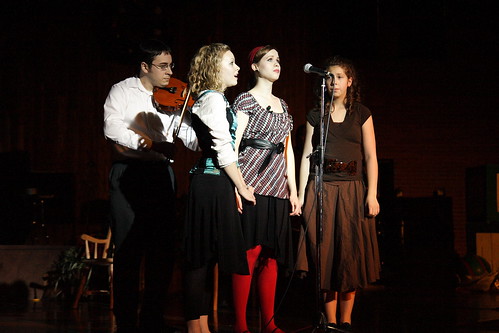
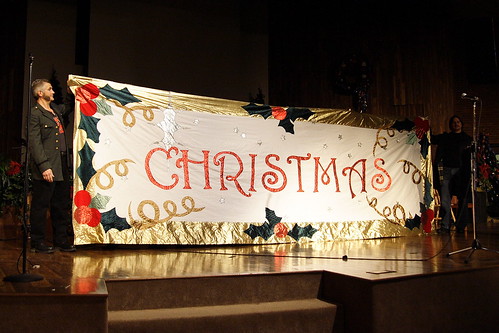
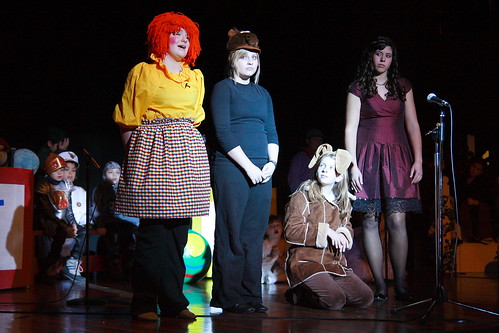
When I started shooting with my DSLR, I never imagined how much shooting I would do inside. Shooting indoors brings a host of challenging lighting issues with it. When people are considering a new lens, I always encourage them to buy the fastest lens they can (F/2.8 or better throughout the focal range) so they will get better results when shooting in challenging lighting. This same advice was given to me, and the more I shoot, the more I see the wisdom in it. I recently photographed my church's Christmas play, which came in two parts, one performed by children and the second performed by adults. My wife bought me a Tamron 17-50 F/2.8 lens for Christmas and this is the lens I used.
These types of events are fun, challenging, and frustrating all at the same time. The light range was tremendous. Sometimes the stage was barely lit at all and other times a blinding white spot light was employed. I was constantly scrambling to adjust my settings. I have shot photographs in this venue several times before (all of the Jimmy Bratcher shots were shot here), but in previous events the lighting has been very consistent. The upside is that when the brighter lights were employed I was able to up my ISO to 800 for slightly less noise. I hate noise in my photographs, but I have not figured out a way to shoot at higher ISOs in this setting, so I have to rely on noise reduction software to assist in the post processing phase.
My new lens performed very well. I wish it had been longer for certain shots, but that is my only complaint, and I was well aware of the range limitations when I purchased it. I had often heard people describe the results from this lens as "creamy" and I never understood what them meant until I began using it. The color quality from this lens is far superior to the Canon kit lens I was using.
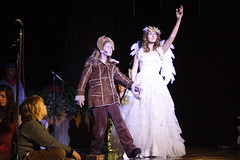
The white spotlight posed the most problems for me. It was very difficult to keep from blowing the highlights. The white light was also very unnatural, however. This shot of the Velveteen rabbit and other nursery room toys illustrates that. This is actually how that looked. In my opinion they should have used some kind of filter to soften the effect or give it a slightly yellow cast. I was able to change some of those shots in post by playing with the white balance and forcing it to something that looked more natural.

I need to consider using my flash more in events like this. I usually don't because I don't want the flash to distract the audience and the performers. I think I am overly sensitive to this, however. Towards the end of the performance I realized many others were using their flash and I had not noticed myself. There is a difference between the flash on a point and shoot, however, and the flash from my 430EX which is much more powerful. I also don't like the results from using a flash for this type of performace because it lights up too much of the background. The angel shot above is a great illustration. In this shot (taken without a flash) the background becomes almost completely black which hides the instruments, microphone standes and other distractions.

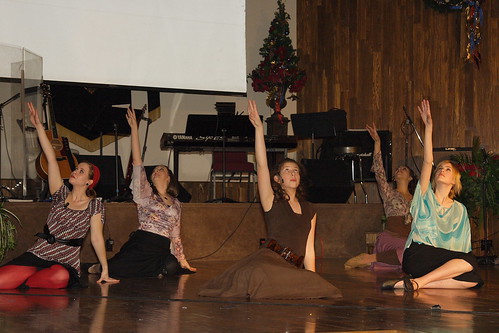
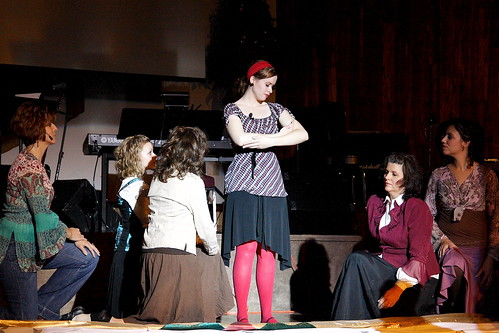
In this shot of the dancers I used a flash which lit the entire scene evenly so the background distractions were lit just as much as the dancers themselves. There was very little stage light used during this scene with the dancers, so without the flash I would not have gotten the shot, but the end result is not one I like with all the distracting items visible.

I keep shooting...I keep learning. Nine months ago my photographs would have been much worse. There is an art to learning when to use natural/ambient light and when to use the flash. I can see that with more experience, I am better able to make decisions on when I should use each.

Here are a few of the shots I liked best.