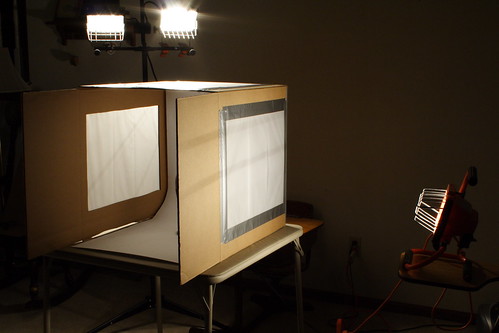
 My last studio session with the flash left me very frustrated and disappointed. I submitted a few photos to my peers for critique and Bosela from the Morgue File suggested using a light tent. The Strobist has an excellent article on how to build one of these very cheap and useful tools. I was very impressed with the photographs on the Strobist's website, and built one of my own. I used a much larger box that was almost 2 ft. cubed. I purchased some tracing paper that was 14 in. x 17 in. and used four sheets on each side and on the top. For a background I started out with some poster board as per the Strobist's recommendations, but since my box was so much larger, the poster board was not big enough. Instead I purchased a roll of banner paper and cut a section that was 22 in. wide x 48 in. long. This worked perfectly. If you would like more information about building one of these, you can read the article at http://strobist.blogspot.com/2006/07/how-to-diy-10-macro-photo-studio.html.
I grabbed my work lights from the garage and placed one set on each side. This is what the setup looked like in my studio (aka my living room).

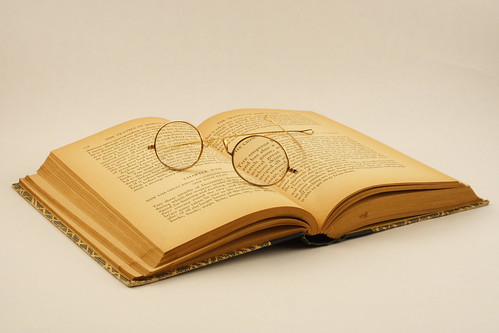
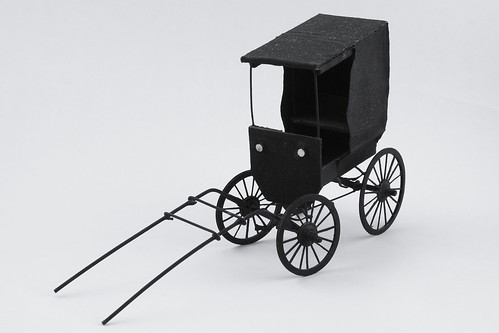
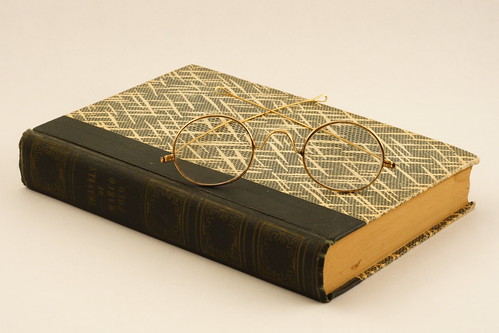
In order to get a good baseline, I used some of the subjects from my last studio session, the model carriage and the old book with the antique glasses. The results were much better! The shadows were almost completely eliminated and the light from the light tent was very soft and even. The paper background worked great and did not compete with the subjects at all.
I was very happy with the way these turned out, but my favorites from the session were the bottle of cherry vinegar at the top of this entry and this one.
 This technique does a great job of isolating the subject and makes it especially easy to for publishers to paste into their layouts. Special thanks go out to Bosela and the Strobist for sharing this technique with me.

